DIY Recessed Lighting: An Installation Guide
Lighting
Welcome to Best DIY Furniture Paint's comprehensive guide on DIY recessed lighting installation. In this step-by-step tutorial, we will walk you through the process of removing an old ceiling light and installing new recessed lighting to transform and enhance your living space. With our detailed instructions and helpful tips, you'll be able to successfully upgrade your lighting fixtures with ease.
Why Choose Recessed Lighting?
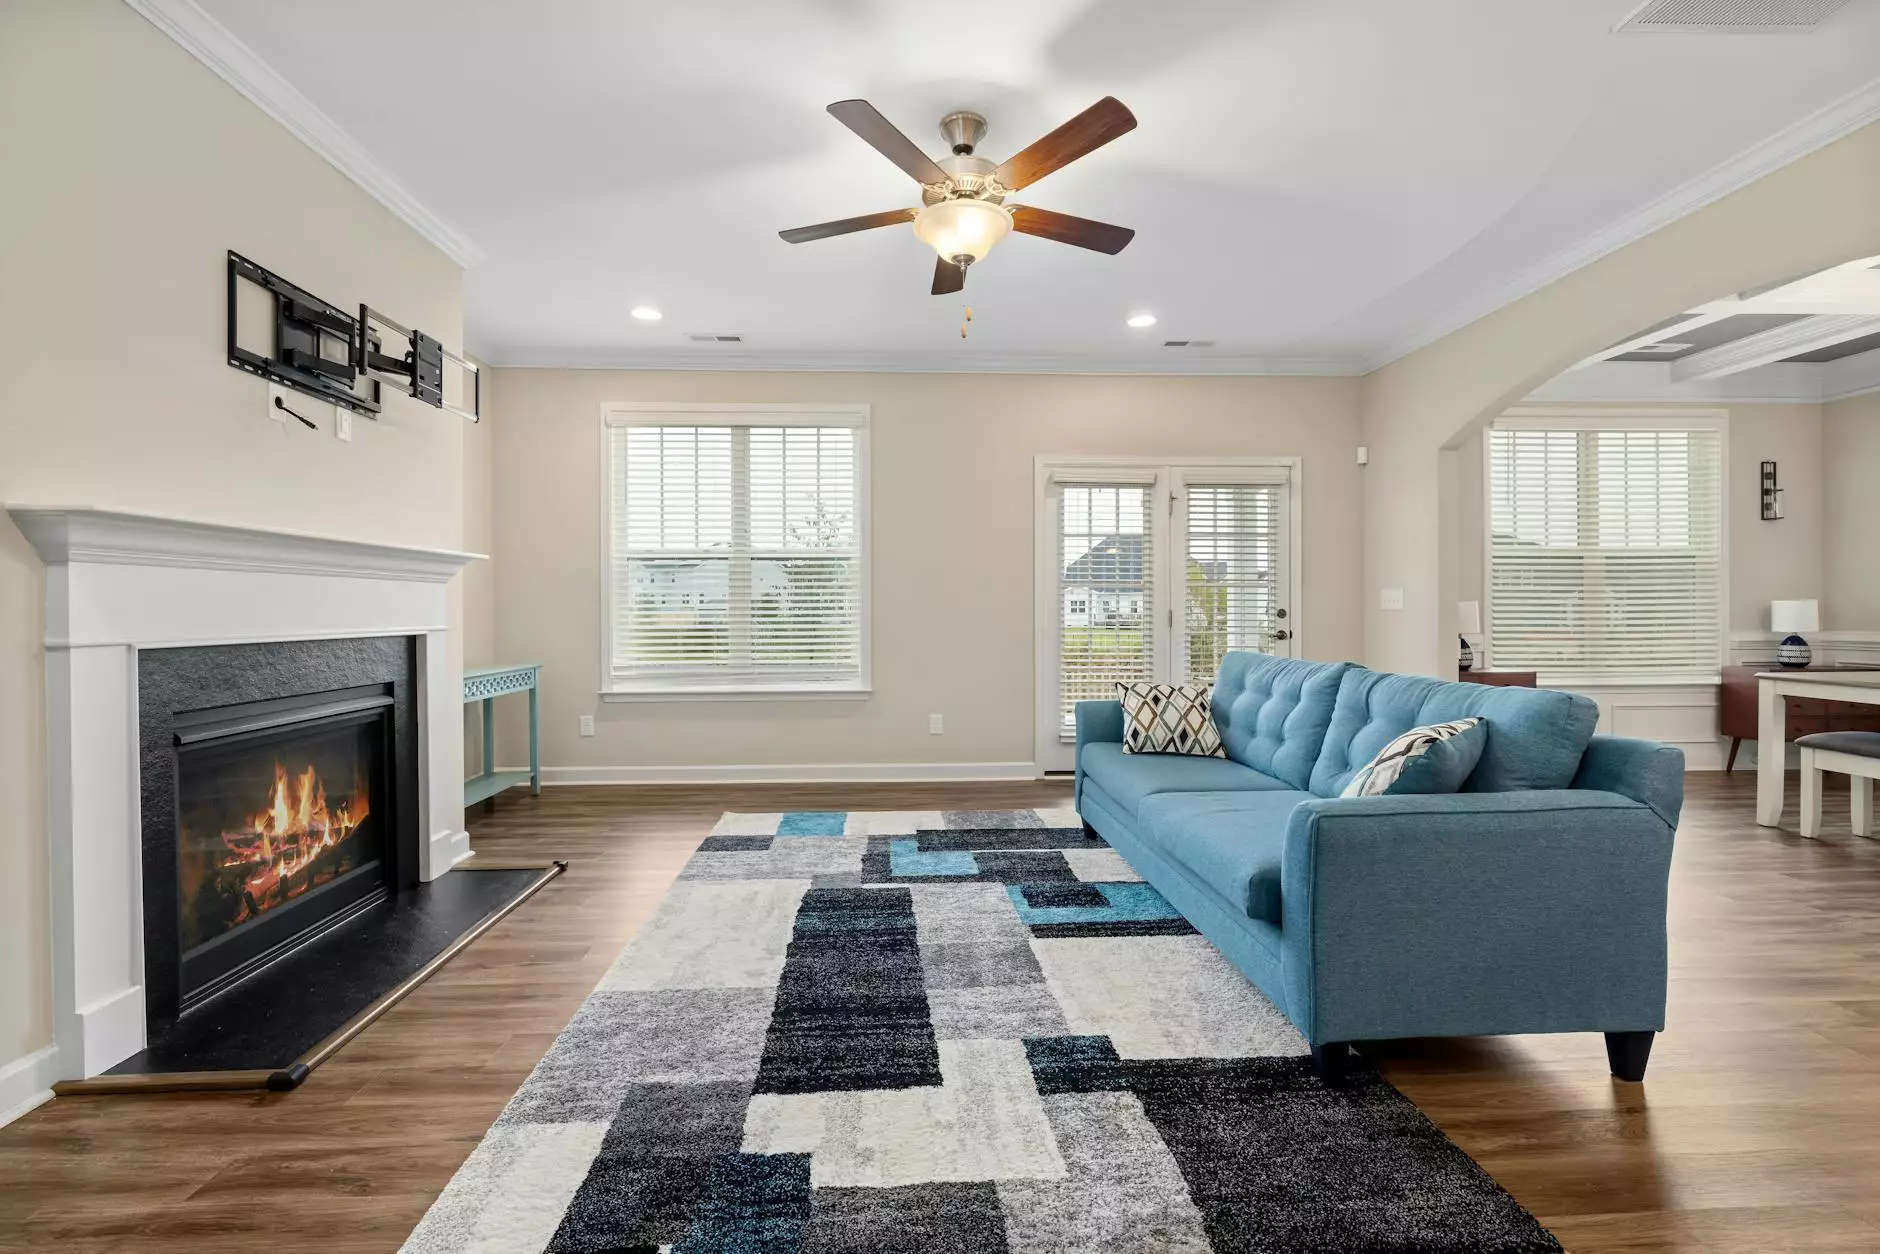
Recessed lighting provides a sleek and modern look to any room, offering both functionality and style. Unlike traditional ceiling lights that hang down, recessed lights are installed flush with the ceiling, creating a clean and unobtrusive lighting solution. By opting for recessed lighting, you can achieve a well-lit space without sacrificing valuable ceiling height.
Tools and Materials Needed
Before you begin the installation process, it's essential to gather all the necessary tools and materials. Here's a comprehensive list to ensure you have everything you need:
- Drill
- Recessed light fixtures
- Wire cutter
- Wire stripper
- Screwdriver
- Tape measure
- Junction box
- Electrical connectors
- Ladder
- Gloves and safety goggles
Step 1: Turn Off the Power
Prior to starting any electrical work, it's crucial to turn off the power supply to the area where you'll be installing the recessed lighting. Locate the breaker switch or fuse box and switch off the power to ensure your safety throughout the process.
Step 2: Remove the Old Ceiling Light
Begin by removing the old ceiling light. Carefully unscrew any screws holding the light fixture in place and gently disconnect the wiring. Take note of the wiring setup and how the old light is connected, as this will guide you in the installation of the recessed lighting.
Step 3: Measure and Mark
Measure the desired location for each recessed light fixture. Mark the positions on the ceiling using a pencil or marker. Be sure to space the fixtures evenly and consider the layout and purpose of the room to determine the optimal placement.
Step 4: Install the Junction Box
The junction box serves as a connection point for the electrical wiring. Install the junction box for each recessed light according to the manufacturer's instructions. Ensure it is securely attached to the ceiling and aligned with your marked positions.
Step 5: Connect the Wiring
Using the wire stripper, carefully strip the ends of the electrical wiring inside the junction boxes. Connect the wires of the recessed light fixtures to the corresponding wires in the junction boxes using electrical connectors. Take extra care to ensure proper connections and secure all connections tightly.
Step 6: Secure the Recessed Light Fixtures
Follow the manufacturer's instructions to securely attach and install each recessed light fixture to the junction boxes. Make sure they are level and flush with the ceiling. Tighten any screws or clips provided to hold the fixtures in place.
Step 7: Restore Power and Test the Lights
Once all the recessed light fixtures are installed, restore power to the area by switching on the breaker or fuse. Test each light to ensure they are working correctly. If any issues arise, double-check the wiring connections and troubleshoot accordingly.
Conclusion
Congratulations! You have successfully installed recessed lighting in your space. With this comprehensive guide from Best DIY Furniture Paint, you can easily transform the ambiance and functionality of any room. Enjoy the enhanced lighting experience and the modern aesthetic that recessed lighting brings to your home.
Remember, if you need further assistance or have any questions, our team at Best DIY Furniture Paint is always here to help. We specialize in furniture painting and lighting solutions, providing you with expert advice and high-quality products to complete your DIY projects with confidence.
Get started on your next home improvement project today and create the perfect lighting atmosphere with DIY recessed lighting from Best DIY Furniture Paint!


