How-To: Make An Art Cart For Kids
Home Transformations
The Perfect Art Cart for Young Creators
Welcome to Best DIY Furniture Paint! In this guide, we will show you how to create an art cart for kids that combines functionality and organization. Our step-by-step instructions and useful tips will help you provide a nurturing space for your little artists to explore their creativity.
Why an Art Cart?
An art cart offers a convenient and accessible storage solution for art supplies. Instead of rummaging through messy drawers or searching for misplaced materials, an art cart keeps everything in one place. With wheels for easy mobility, your child can effortlessly move the cart to their desired workspace and immerse themselves in their artistic endeavors.
Gather Your Materials
Before starting the art cart project, gather the following materials:
- A sturdy cart or rolling storage unit
- Paints, brushes, and canvases
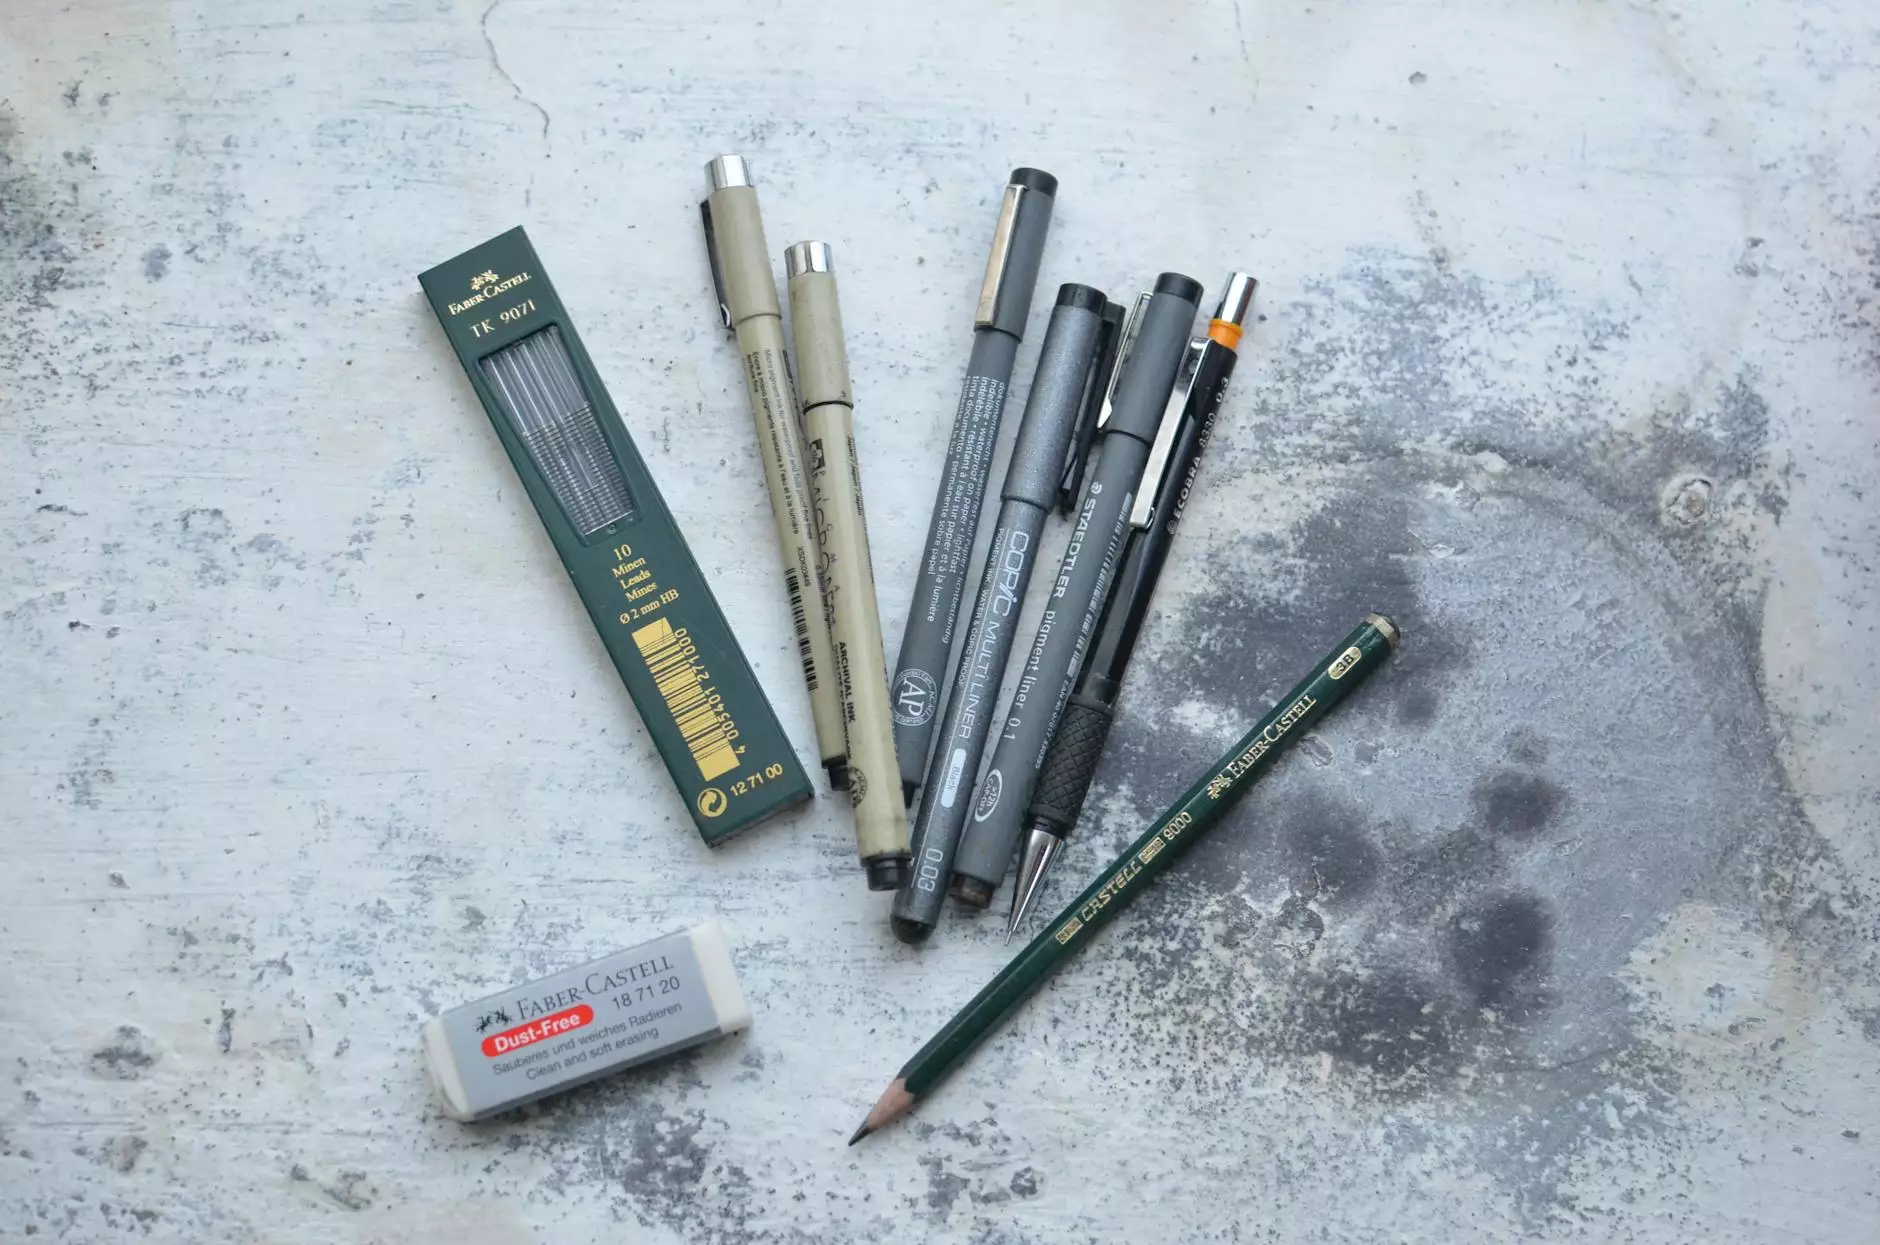
- Coloring pencils, markers, and crayons
- Paper, sketchbooks, and drawing pads
- Glue, scissors, and other craft essentials
- Labels and containers for organization
Step-by-Step Instructions
1. Choose the Right Cart
When selecting a cart, opt for one with multiple shelves or drawers to accommodate different types of art supplies. Make sure it is sturdy and durable to withstand daily usage by enthusiastic young artists.
2. Organize the Supplies
Separate the art supplies into categories and assign each category to a designated section of the cart. Use containers, dividers, or labeled boxes to keep everything tidy and easily accessible. This organization system will help your child develop a sense of responsibility and maintain orderliness.
3. Create a Colorful Display
Arrange the art supplies in a visually pleasing manner. Utilize the vibrant colors of the materials to create an inviting and inspiring atmosphere. Incorporate art prints or paintings on the cart itself to add an extra touch of artistic charm.
4. Label Everything
Label each section or container with the corresponding art supply category. This simple yet effective step makes it effortless for your child to find and return items to their designated spots. It also encourages them to develop organizational skills from an early age.
5. Personalize the Cart
Let your child put their personal touch on the cart. Add their name, favorite stickers, or drawings to make it uniquely theirs. By involving them in the process, they will feel a sense of ownership and pride over their art cart.
6. Explore and Create
Encourage your child to explore their art cart and unleash their creativity. Provide guidance, but also allow them the freedom to experiment and express themselves through different mediums. With their art supplies neatly organized and easily accessible, the possibilities are endless.
Conclusion
Creating an art cart for kids is a fun and practical project that enhances your child's artistic journey. With your Best DIY Furniture Paint art cart, your little one will have everything they need to dive into their imaginative world. Follow our detailed steps and tips to set up the perfect space to nurture their creativity!


