How To Use Antiquing Gel | Best DIY Furniture Paint
Home Transformations
Introduction to Antiquing Gel
When it comes to transforming your furniture and giving it a beautiful vintage look, antiquing gel is an essential tool in your arsenal. At Best DIY Furniture Paint, we specialize in providing high-quality furniture paint and accessories to help you achieve stunning results. In this guide, we will walk you through the process of using antiquing gel to create a gorgeous antique finish on your furniture.
What is Antiquing Gel?
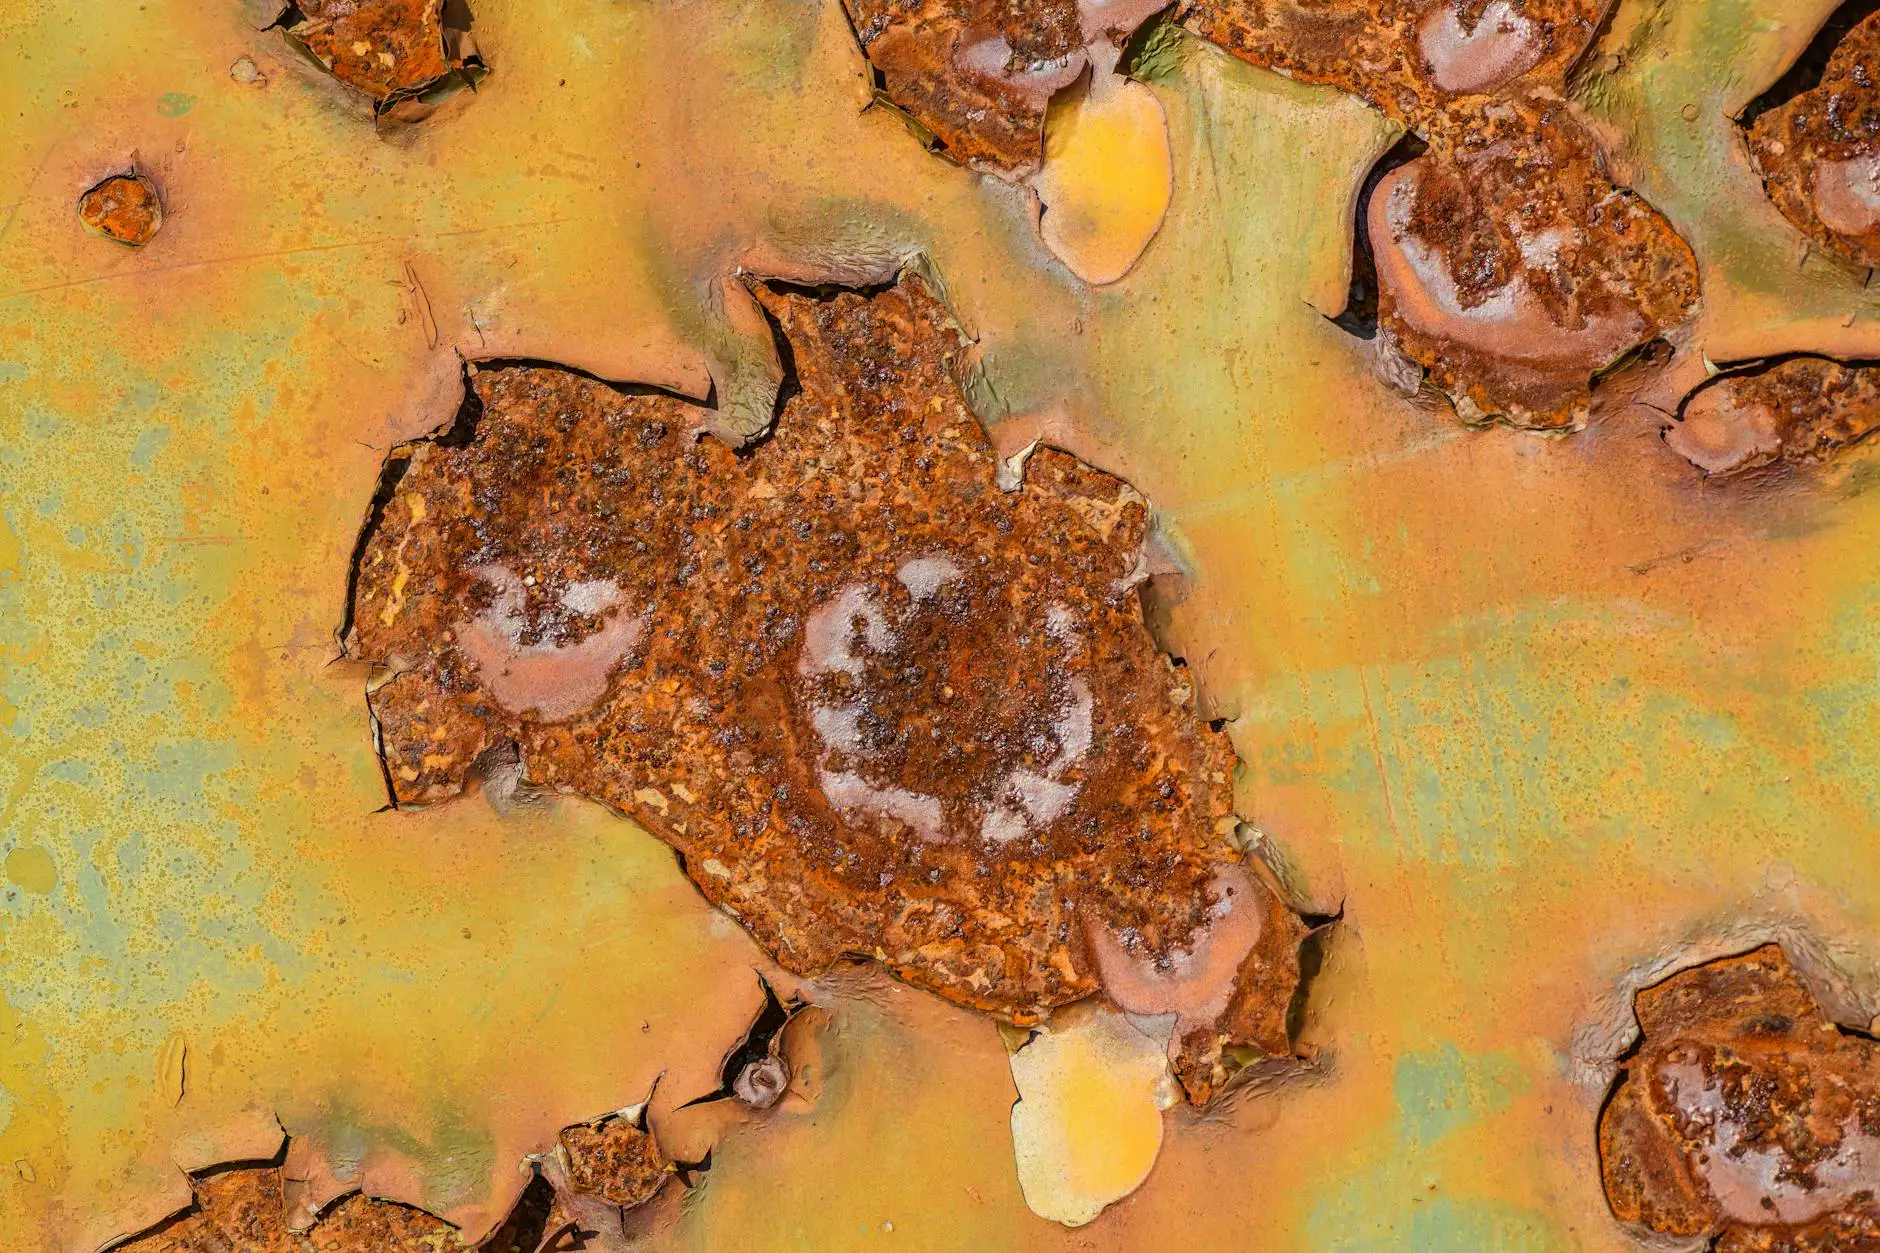
Antiquing gel is a specially formulated product designed to give your furniture a distressed and aged appearance. It is typically a translucent gel that can be applied over painted surfaces to add depth and character. The gel settles into crevices and recessed areas, highlighting the details and creating an antique look.
Step-by-Step Guide to Using Antiquing Gel
Step 1: Prepare Your Furniture
Before starting the antiquing process, ensure that your furniture is clean and free from dust or debris. Wipe it down with a damp cloth and let it dry completely.
Step 2: Choose the Right Color
Consider the color scheme and style you want to achieve before selecting the antiquing gel color. Opt for darker shades, such as deep brown or black, as they create a more pronounced antique effect.
Step 3: Apply a Base Coat
Start by applying a base coat of paint to your furniture. This will serve as the foundation for the antiquing gel to adhere to. Choose a color that will complement the antiquing gel shade.
Step 4: Applying the Antiquing Gel
Take a clean brush or sponge and apply a thin layer of antiquing gel to the surface of your painted furniture. Make sure to work the gel into any crevices or recessed areas for a more authentic aged look. Allow the gel to dry according to the manufacturer's instructions.
Step 5: Wipe Off Excess Gel
Once the gel is dry, use a soft cloth or sponge to gently wipe off the excess gel. This step is crucial in achieving the desired level of distressing. Take your time and remove the gel gradually until you achieve the perfect antique effect.
Step 6: Seal the Finish
To protect your newly antiqued furniture and enhance the durability of the finish, apply a clear topcoat or sealer. This will also give your furniture a beautiful sheen.
Tips and Recommendations
Here are some helpful tips and recommendations to ensure that your antiquing project turns out beautifully:
- Test First: Always test the antiquing gel on a small, inconspicuous area of your furniture before applying it to the entire piece. This will help you determine the desired outcome and make any necessary adjustments.
- Layering: For a more complex antique effect, experiment with layering multiple colors of antiquing gel. This will add depth and richness to the finish.
- Distressing Techniques: Explore different distressing techniques, such as sanding or using a dry brush, to create unique looks and textures.
- Patience is Key: Achieving the perfect antique finish requires patience and attention to detail. Take your time during each step of the process and be mindful of the desired outcome.
By following these expert tips and using high-quality products from Best DIY Furniture Paint, you can create stunning antique finishes that will elevate the beauty of your furniture.
Conclusion
Using antiquing gel is a fantastic way to breathe new life into your furniture and give it an elegant, vintage charm. With the step-by-step guidance and expert tips provided by Best DIY Furniture Paint, you can confidently embark on your antiquing journey.
Whether you're a seasoned DIY enthusiast or a beginner looking to try your hand at furniture restoration, our high-quality antiquing gel and paint products will help you achieve professional-level results. Transform your furniture into timeless pieces that will be cherished for years to come.
Discover the art of antiquing with Best DIY Furniture Paint today and unleash your creativity.


